Nifty__
Nifty__

by Hieu Minh Nguyen on May 25, 2016 | Comment Count
Image blending is the process of combining multiple images together. It truly is an artform. And Margot Robbie is a masterpiece. So naturally, I had to bring them together for this project.
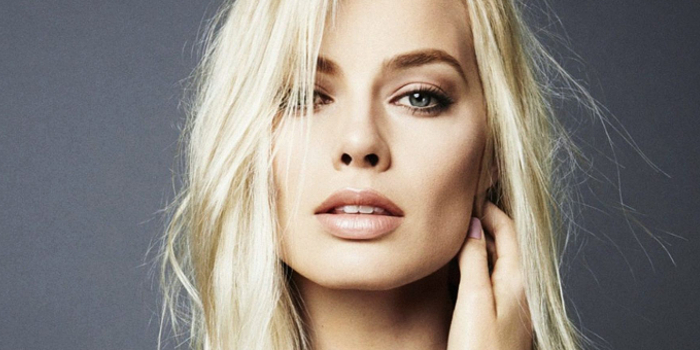
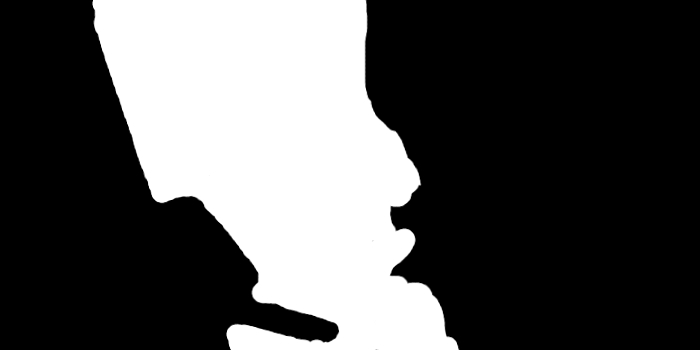
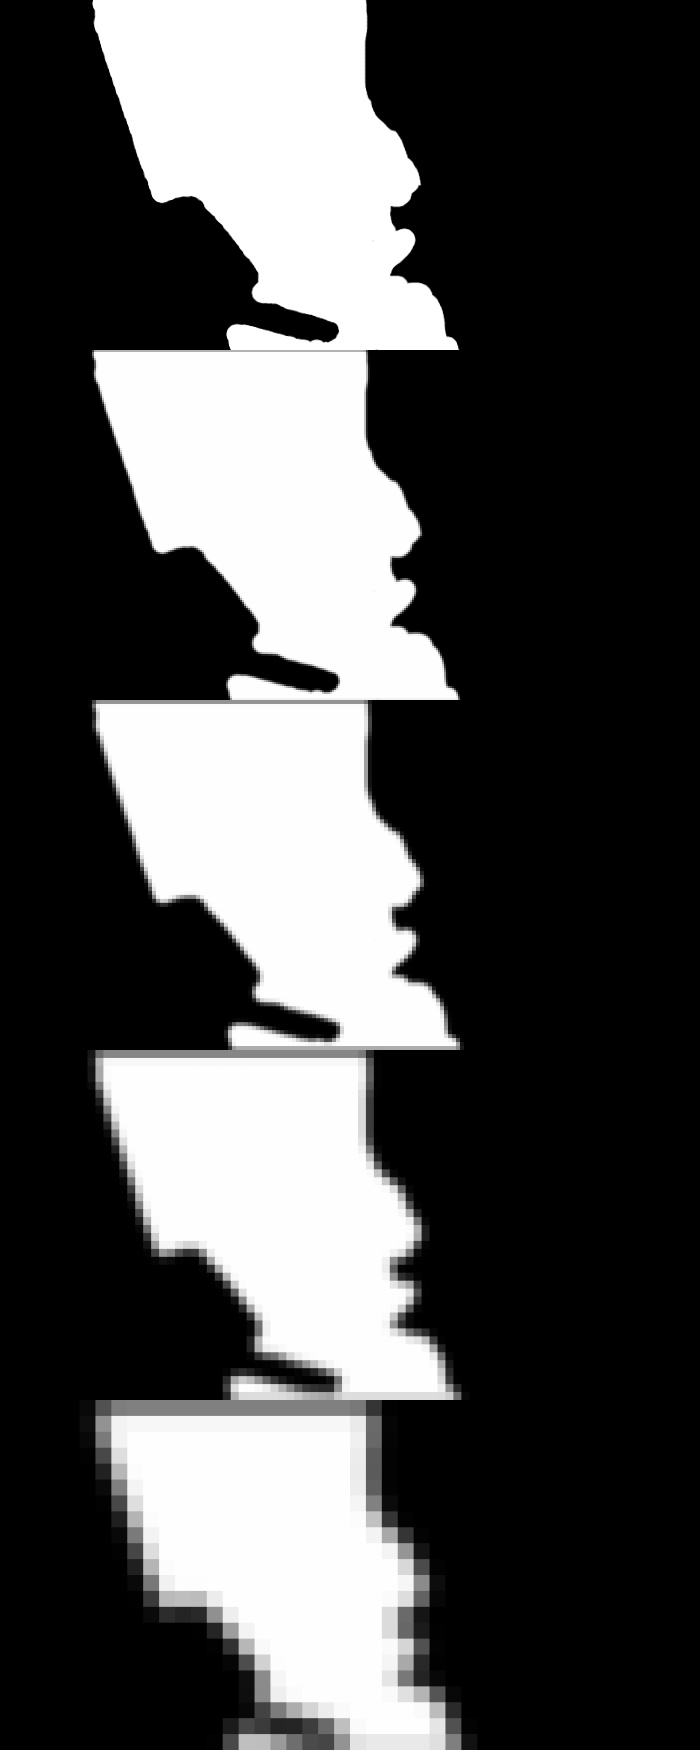
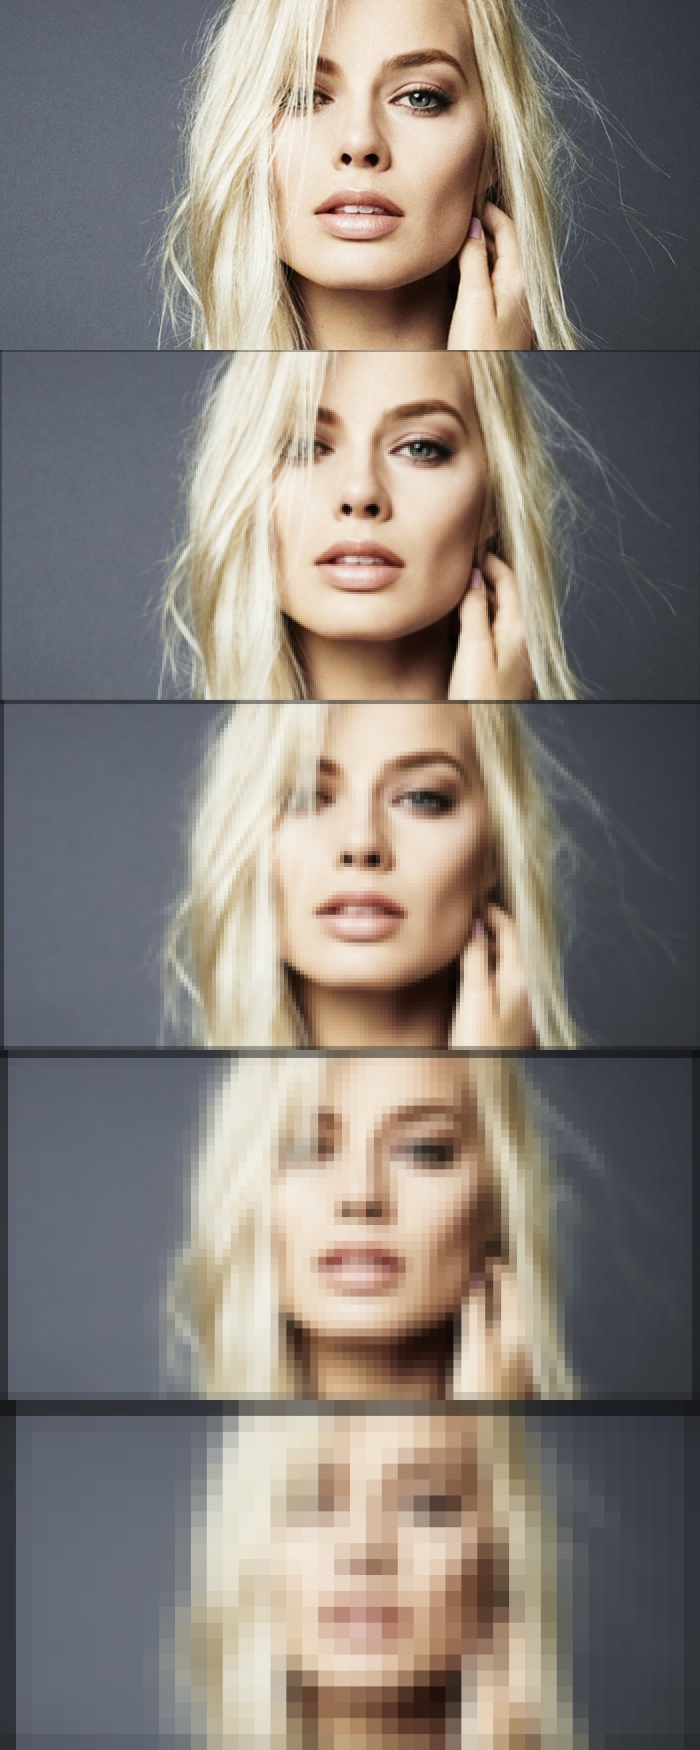
I settled on creating a sort of hero/villain blended headshot. The black image I chose was of Harley Quinn from the upcoming movie, Suicide Squad. The white image I chose was of the actress who plays her, Margot Robbie. I used Gimp to adjust the orientation and make both images have the same dimensions. I also used Gimp to create a black and white image mask, drawn freehand using the eraser tool. This mask is unique because it isn’t just a half/half face. I was able to take interesting features from both images and perform a smooth blending.

To perform the image blending, I used SciPy and OpenCV. The Python methods are detailed below.
This function takes an image, convolves it with 5x5 kernel a=0.4, and then subsamples it down to a quarter of the size (dividing the height and width by two). I took advantage of numpy indexing techniques to index every other row and column.
def reduce(image):
  # Convolve input image with kernel for Gaussian smoothing
  kernel = generatingKernel(0.4)
  convolved = scipy.signal.convolve2d(image, kernel, mode='same')

  # Subsample with numpy indexing to take every other row/column
  reduced = convolved[::2, ::2]
  return reduced
This function takes an image and supersamples it to four times the size (multiplying the height and width by two). First, I created a zeros numpy array of twice the input size, then used indexing techniques to assign every other row and column to the output. The output is then convolved with a 5x5 kernel a=0.4 and multiplied by 4 to scale the image intensities to the proper values. This scaling is needed because of the resulting convolution output on an image with “empty” rows and columns. The pixel values are effectively divided by 4 over the kernel space, so they must be scaled up to obtain the appropriate pixel intensity.
def expand(image):
  # Create image twice the size of input
  upsampled = np.zeros((2*len(image), 2*len(image[0])))

  # Assign every other row/col of input to output
  upsampled[::2, ::2] = image

  # Convolve input image with kernel for Gaussian smoothing
  kernel = generatingKernel(0.4)
  convolved = scipy.signal.convolve2d(upsampled, kernel, mode='same')

  # Multiply output by 4 to scale image back up
  expanded = convolved * 4
  return expanded
This function takes an image and builds a Gaussian pyramid out of it. This is accomplished by recursively appending the reduced images.
def gaussPyramid(image, levels):
  # Iteratively call the reduce function to build a pyramid
  output = [image]
  for i in xrange(levels):
    output.append(reduce(output[i]))
  return output
This function takes a Gaussian pyramid constructed by the previous function, and turns it into a Laplacian pyramid, which is essentially the difference of Gaussian pyramid levels. For each level, the immediate lower level is expanded. A check is done to ensure the expanded image dimensions are identical to the target image, otherwise cropping is performed (removing excessive rows/columns). The Laplacian level is then calculated by taking the difference. This continues until the top level, which is identical to the top level of the Gaussian pyramid because no further difference can be done.
def laplPyramid(gaussPyr):
  # Iterate over Gaussian pyramid levels
  output = []
  for i in xrange(len(gaussPyr)-1):
    # Expand lower level of pyramid
    expanded = expand(gaussPyr[i+1])

    # Crop expanded image if wrong target dimensions
    if (len(expanded) != len(gaussPyr[i])):
      expanded = expanded[0:len(gaussPyr[i]), :]
    if (len(expanded[0]) != len(gaussPyr[i][0])):
      expanded = expanded[:, 0:len(gaussPyr[i][0])]

    # Calculate Laplacian pyramid
    output.append(gaussPyr[i] - expanded)

  # Last element of Laplacian pyramid is identical to input
  output.append(gaussPyr[len(gaussPyr)-1])
  return output
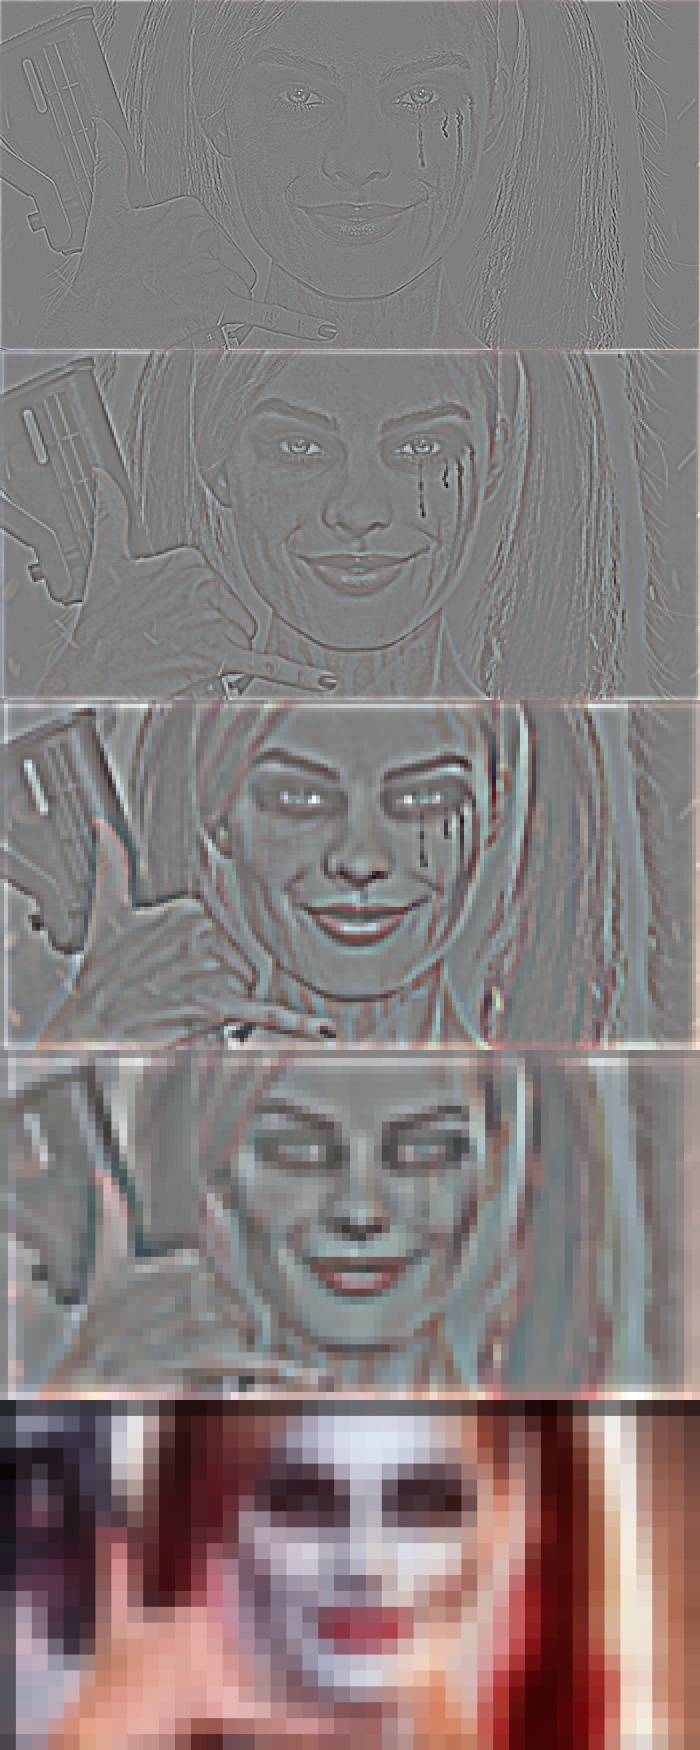

This function takes three pyramids (white Laplacian, black Laplacian, mask Gaussian) and performs an alpha-blend of the two Laplacian pyramids according to the mask pyramid. This is done recursively for each level of the pyramid.
def blend(laplPyrWhite, laplPyrBlack, gaussPyrMask):
  # Iterate over each level to calculate the blended pyramid
  blended_pyr = []
  for i in xrange(len(gaussPyrMask)):
    blended_pyr.append(gaussPyrMask[i]*laplPyrWhite[i] + (1 -  gaussPyrMask[i])*laplPyrBlack[i])
  return blended_pyr
This function flattens a given Laplacian pyramid into an image. It starts from the smallest level and recursively expands and adds the expanded level to the next level. There is also a check performed to ensure the dimensions are correct, otherwise cropping is performed. This continues until the penultimate level is flattened onto the base level.
def collapse(pyramid):
  # Iterate over pyramid levels starting from smallest (in reverse)
  output = pyramid[len(pyramid)-1]
  for i in xrange(len(pyramid)-1, 0, -1):
    # Expand smaller level to next level
    expanded = expand(output)

    # Crop expanded image if wrong target dimensions
    if (len(expanded) != len(pyramid[i-1])):
      expanded = expanded[0:len(pyramid[i-1]), :]
    if (len(expanded[0]) != len(pyramid[i-1][0])):
      expanded = expanded[:, 0:len(pyramid[i-1][0])]

    # Flatten expanded onto next level
    output = expanded + pyramid[i - 1]
  return output
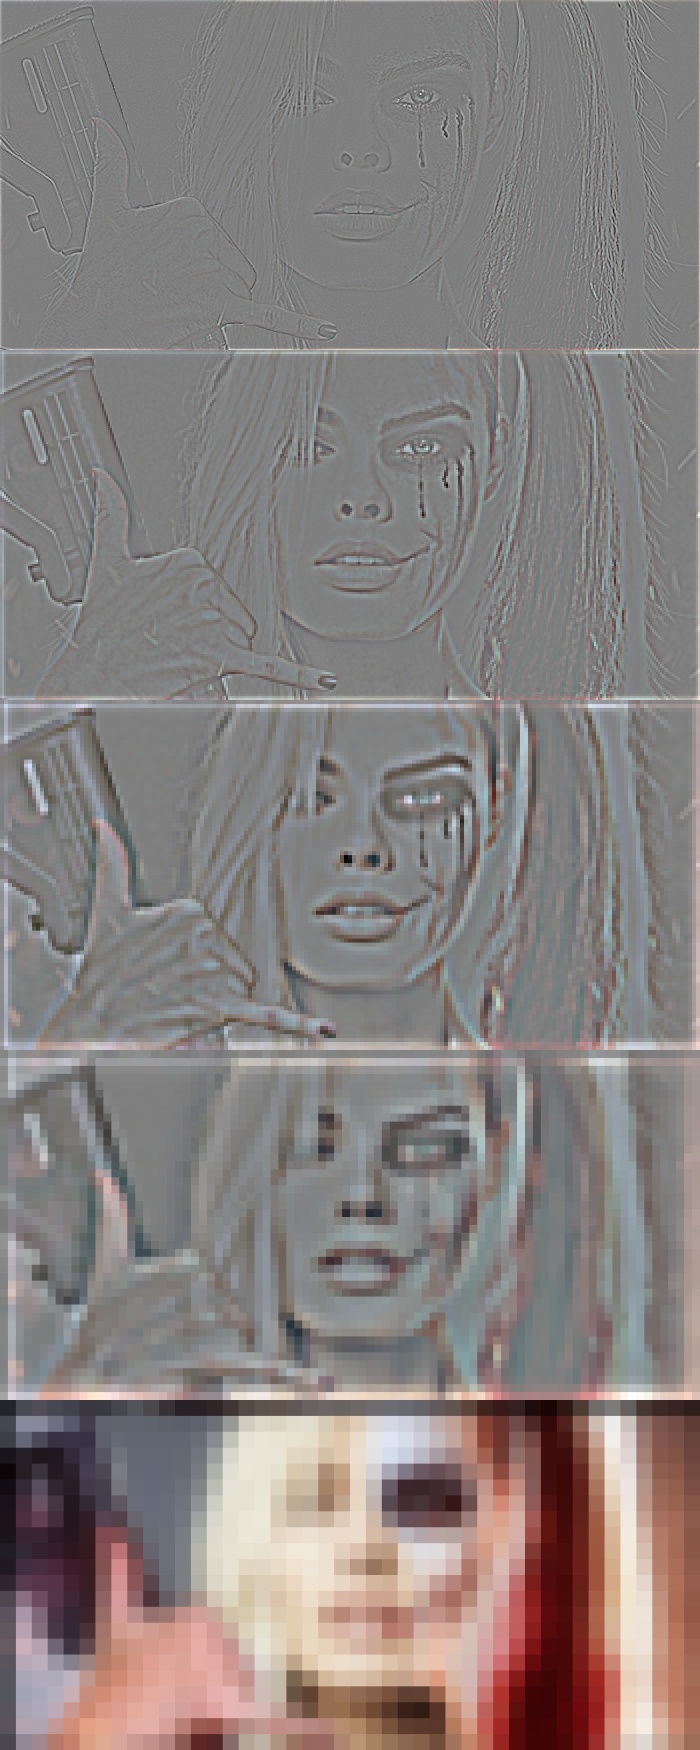
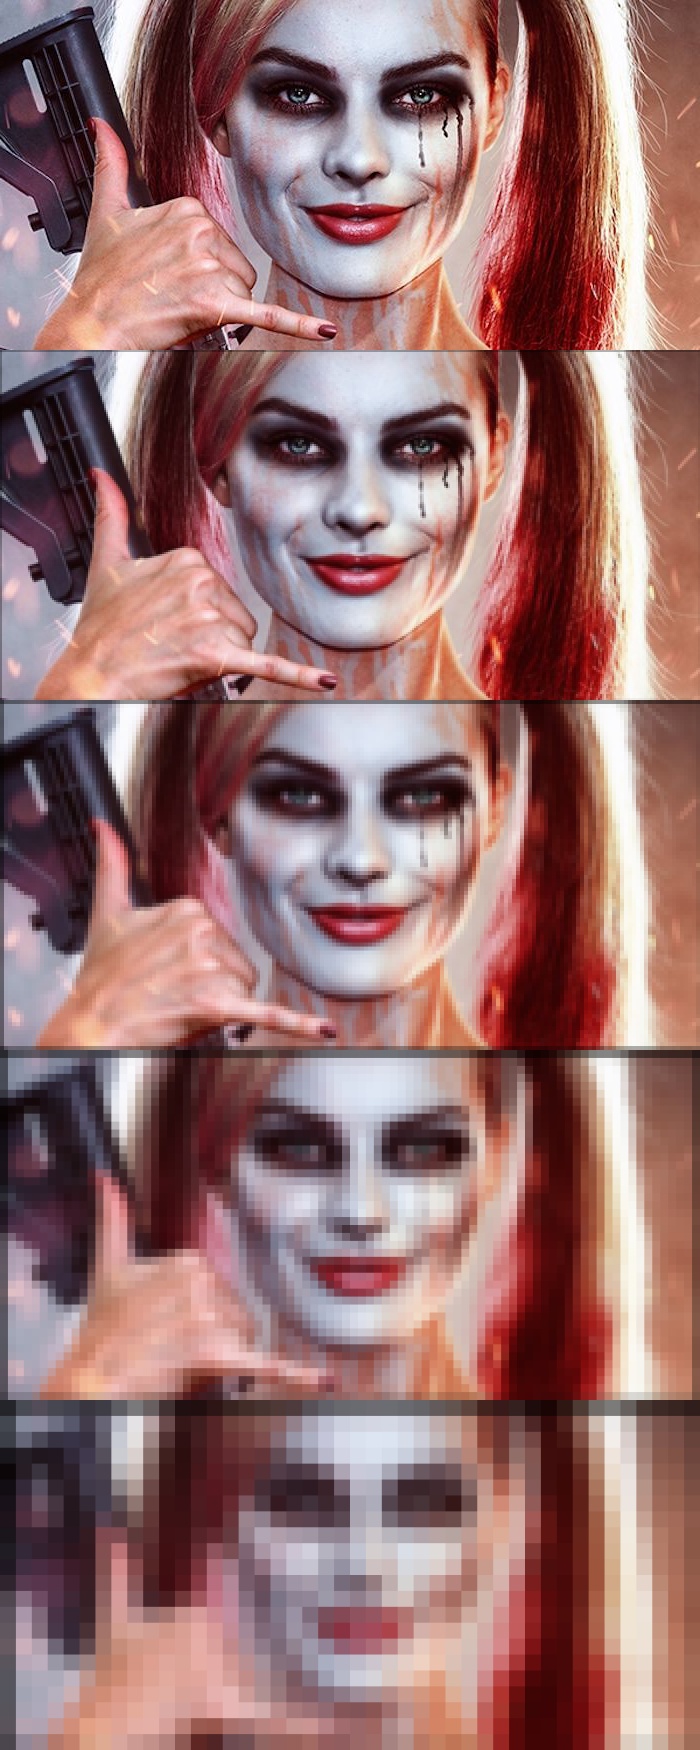
Here is the final result! Almost as good as the movie!
