Nifty__
Nifty__
View this project on GitHub
Rockets can be dangerous. And the bigger the rocket, the greater the hazards. This ignition system project was designed to improve the safety, usability, and reliability of the existing RPL launch controller. It allows the team to launch rockets from a safe distance (under the cover of a bunker), ensure a stable connection through continuity testing, and avoid a premature ignition with sirens and keylock switches.
In order to comply with National Association of Rocketry (NAR) high power rocket safety code, an electrical motor igniter must be installed in the motor only at the launchpad or designated preparation area. The launching system must have a safety interlock in series with the launch switch, and must return to the “off” position when released. A 5-second countdown must be used before launch to warn participants and spectators, who must not be closer than the specified minimum distance. For complex multi-stage rockets, the minimum personnel distance is anywhere from 200-2000ft, depending on the motor type.
This igniter controller and launcher was largely inspired by a launch controller designed by Michael Moncur of the rocket team vatsaas. Its core functionality remained intact, but a few optimizations were made to improve portability, reuse, and cost.

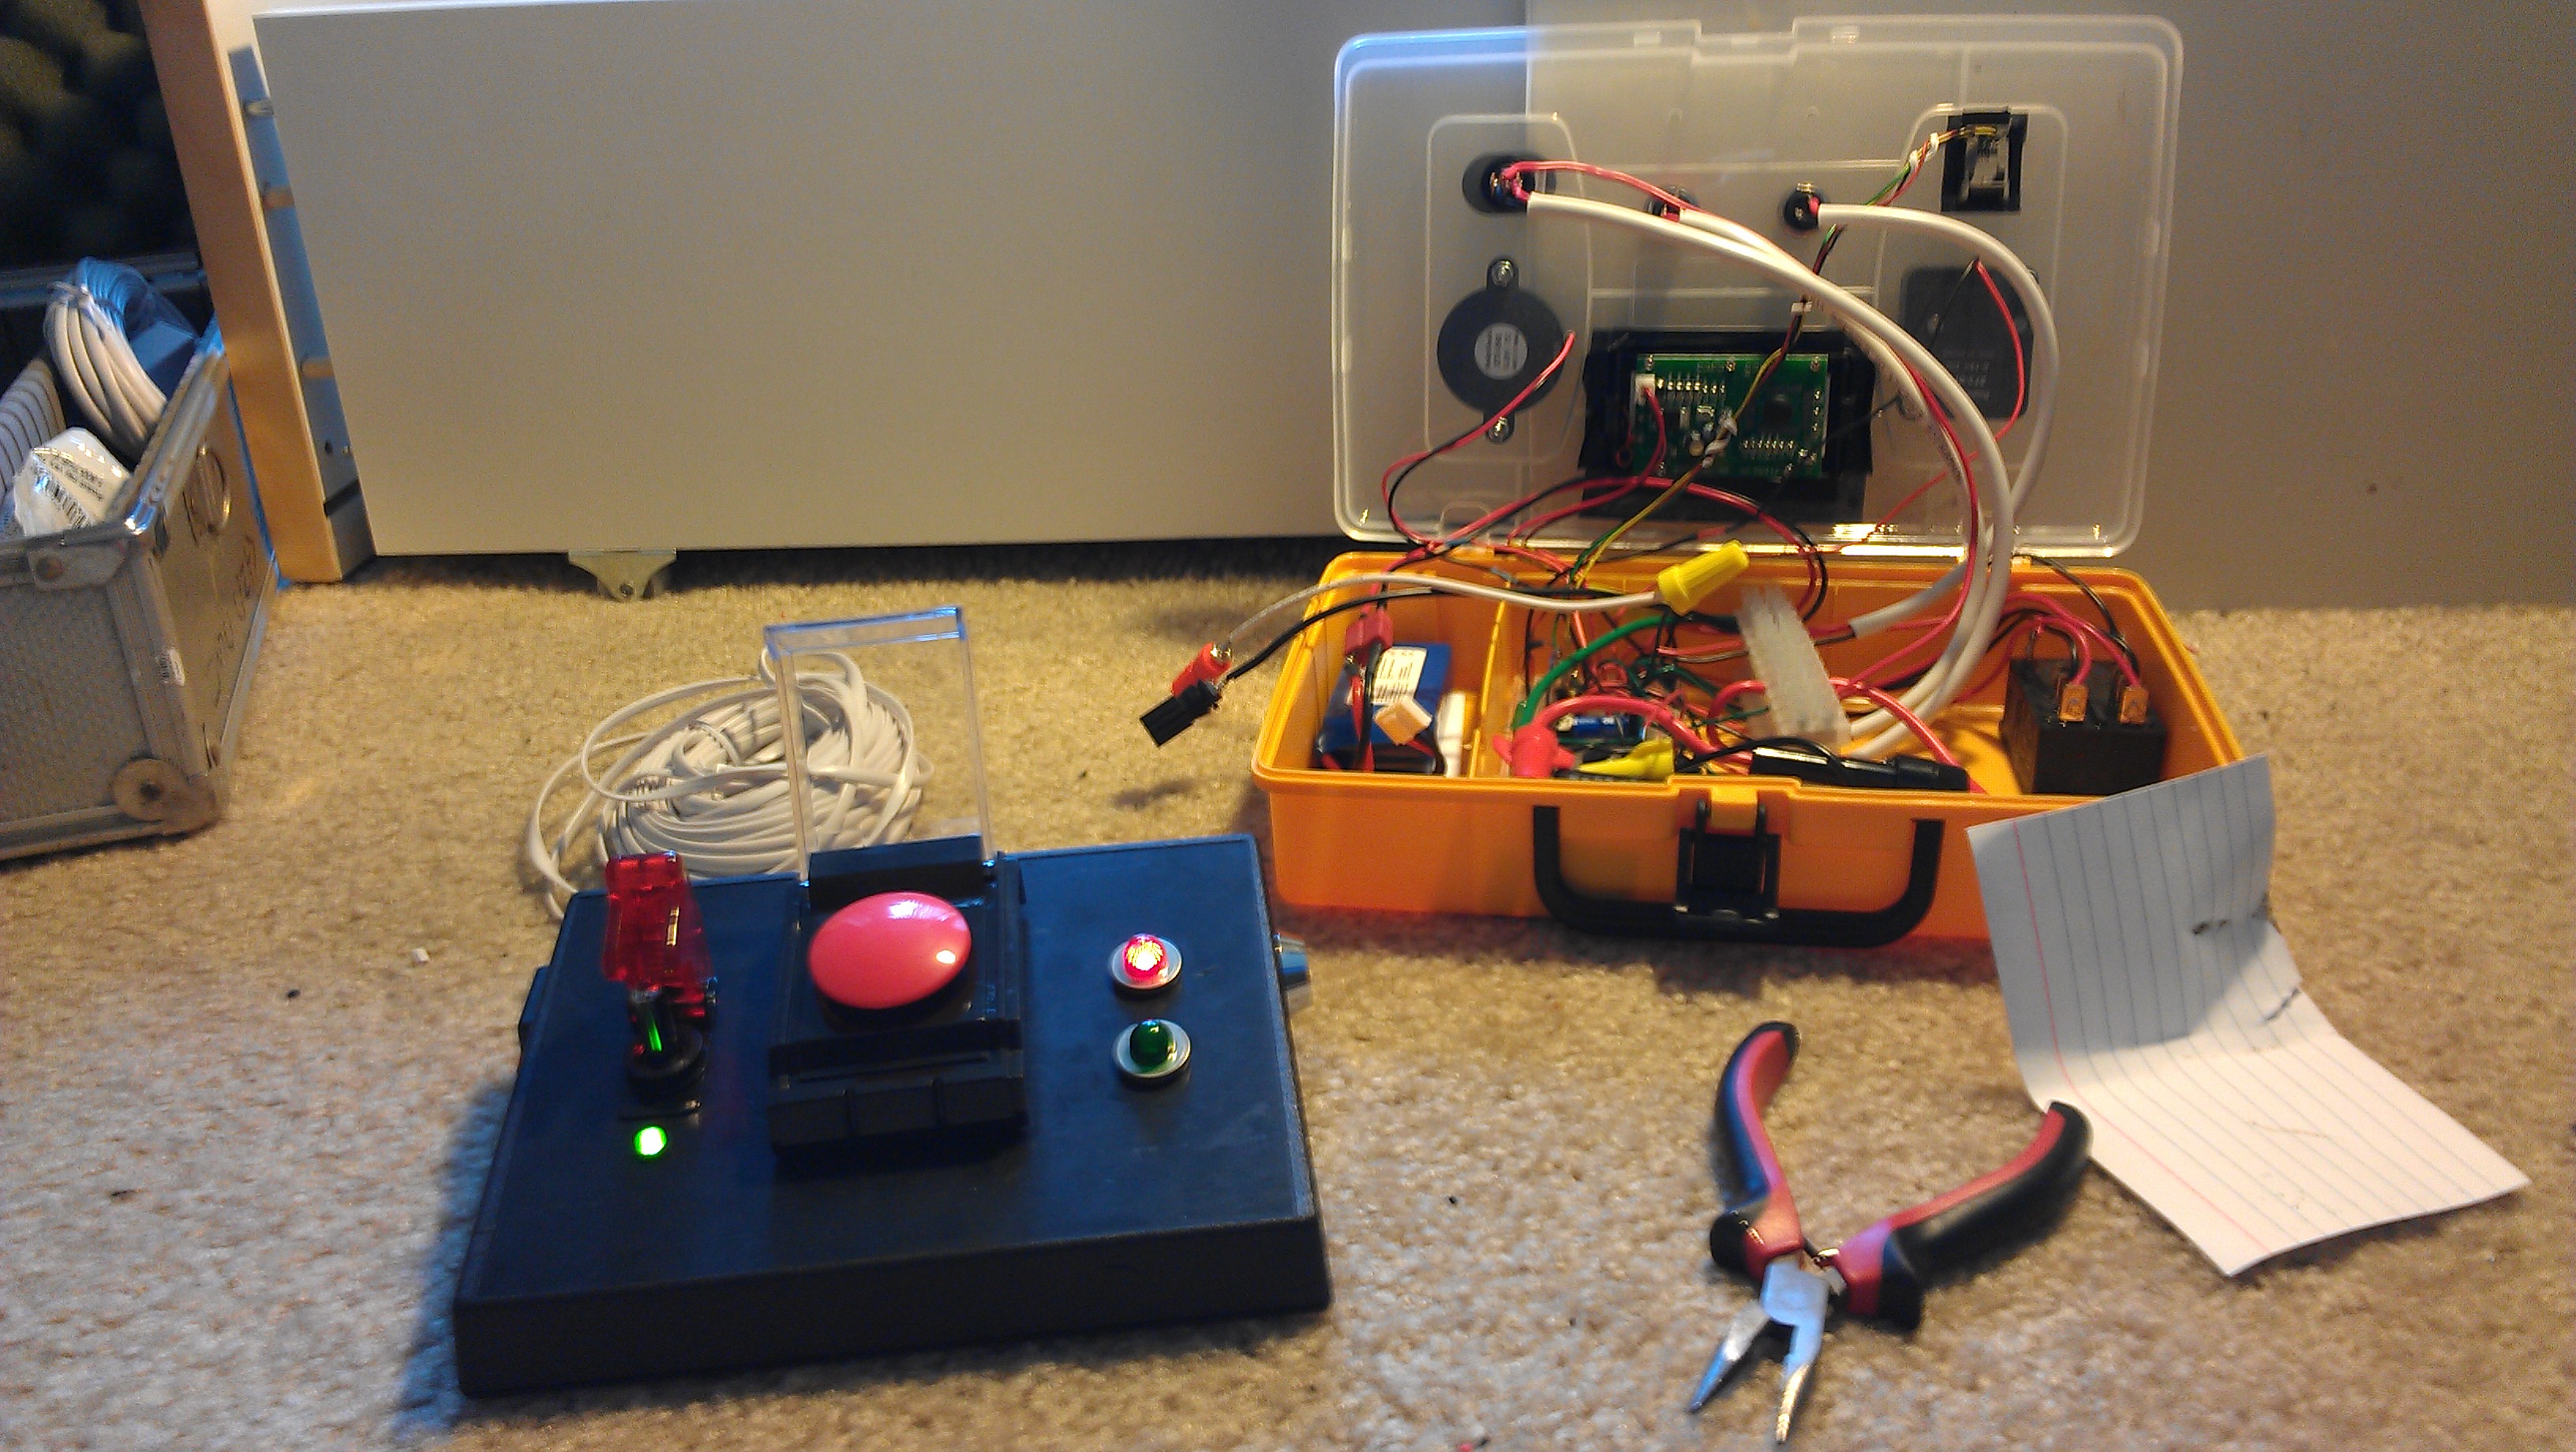
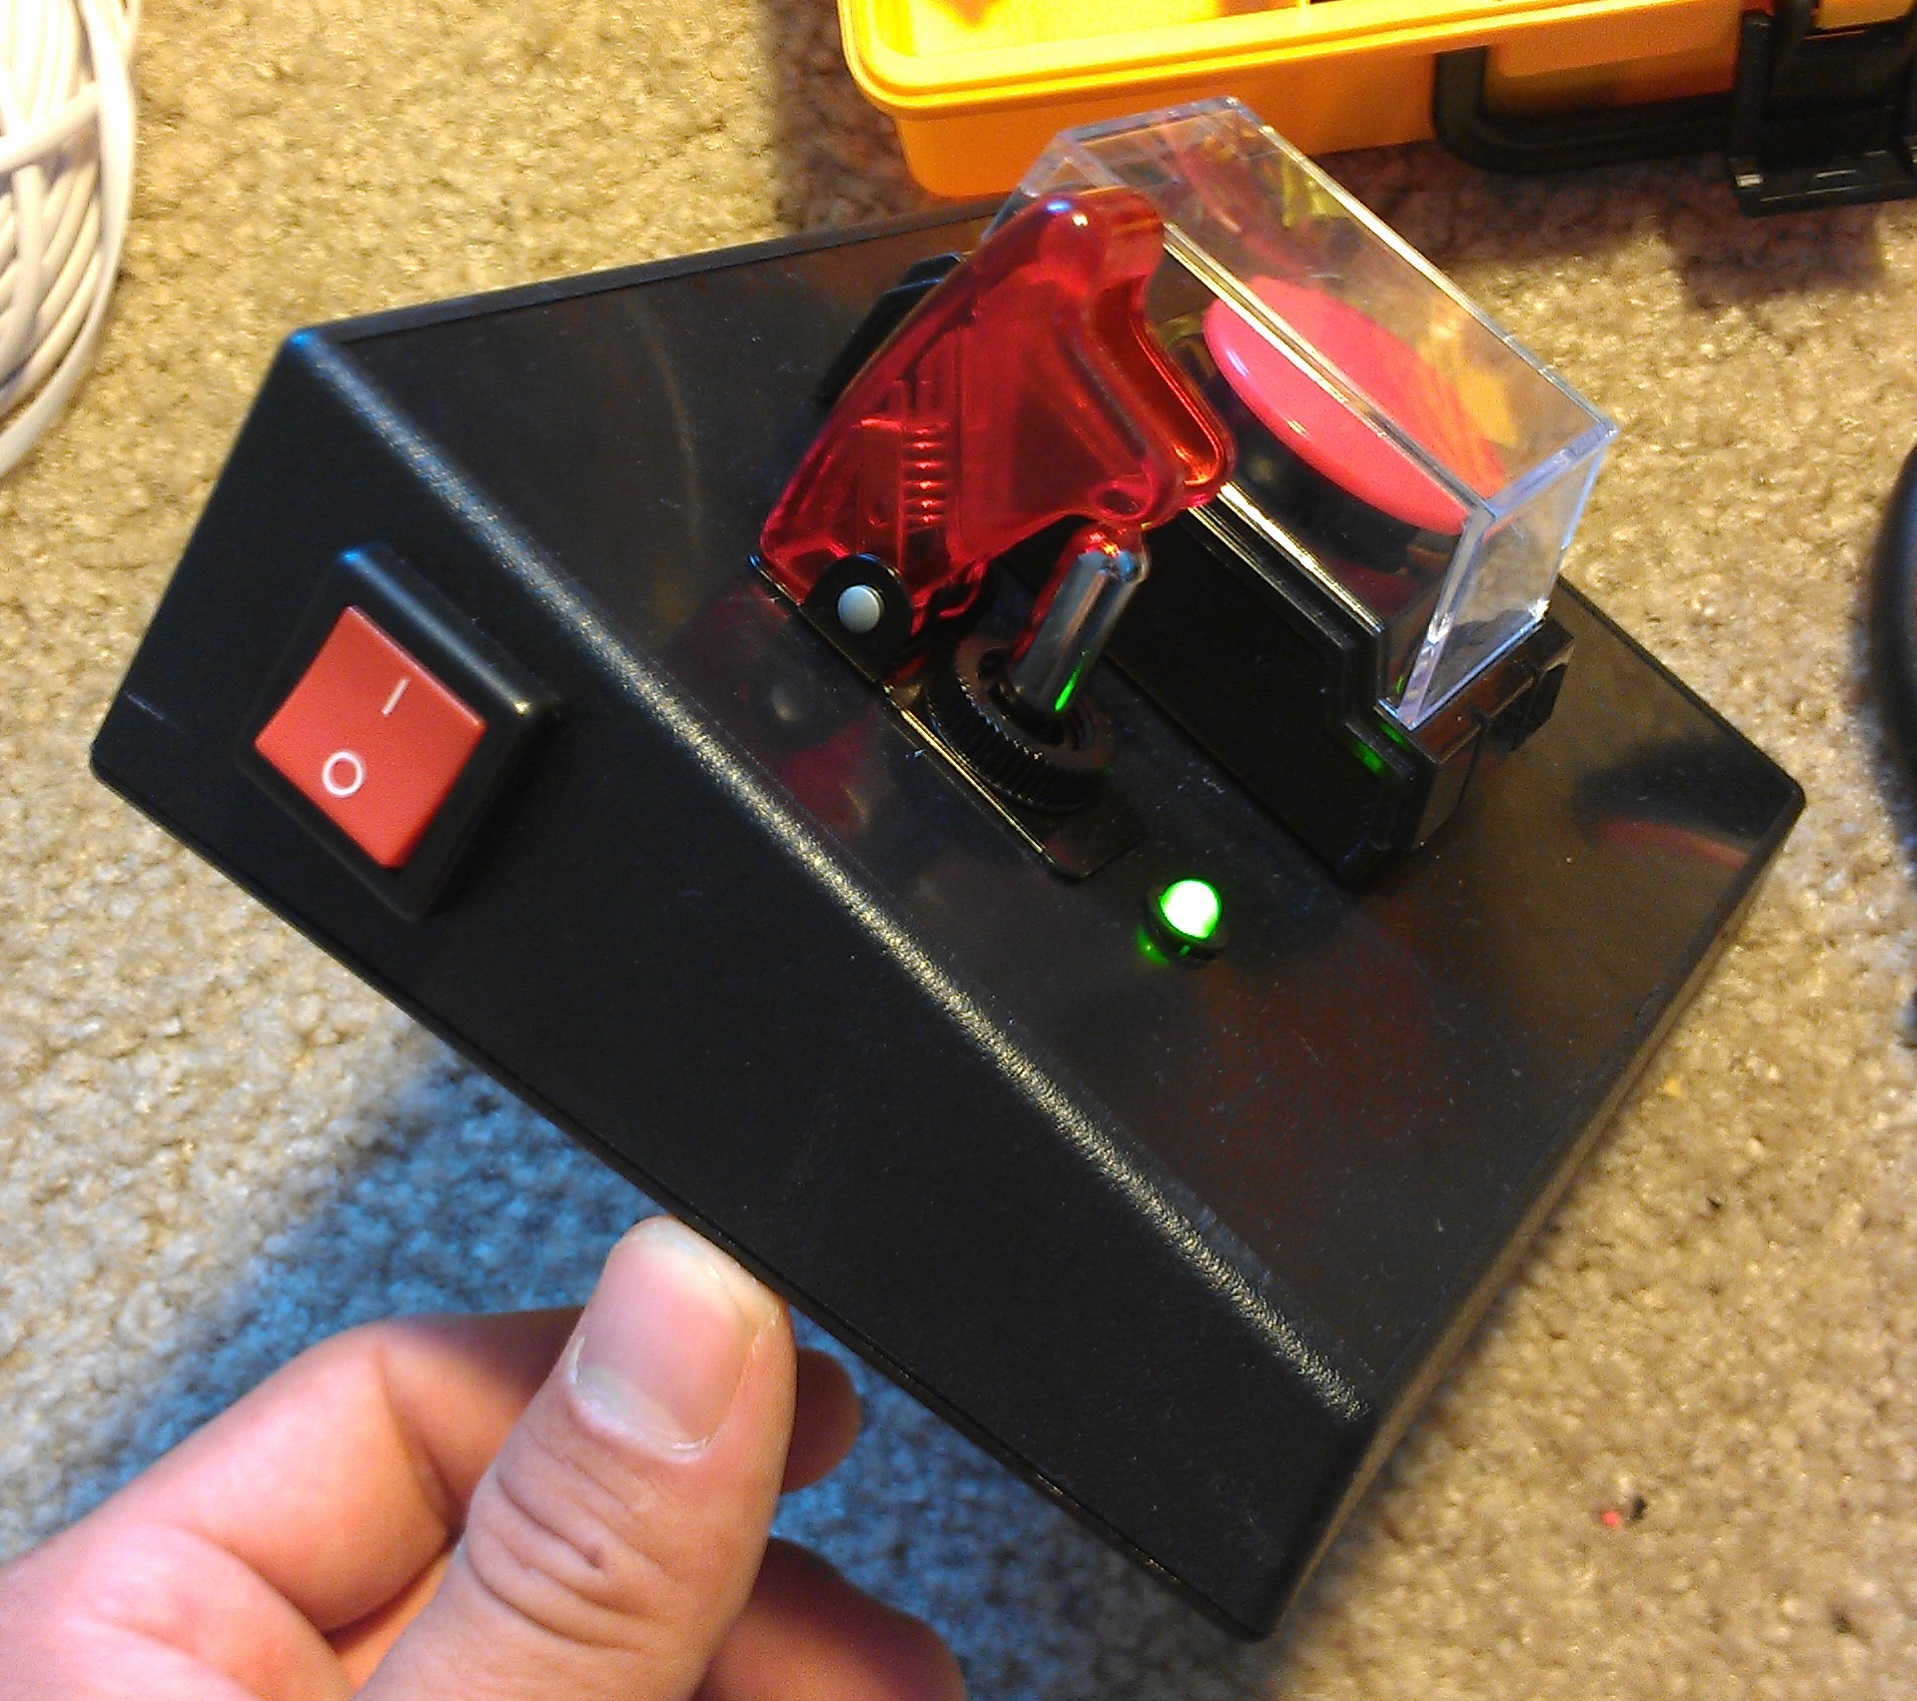
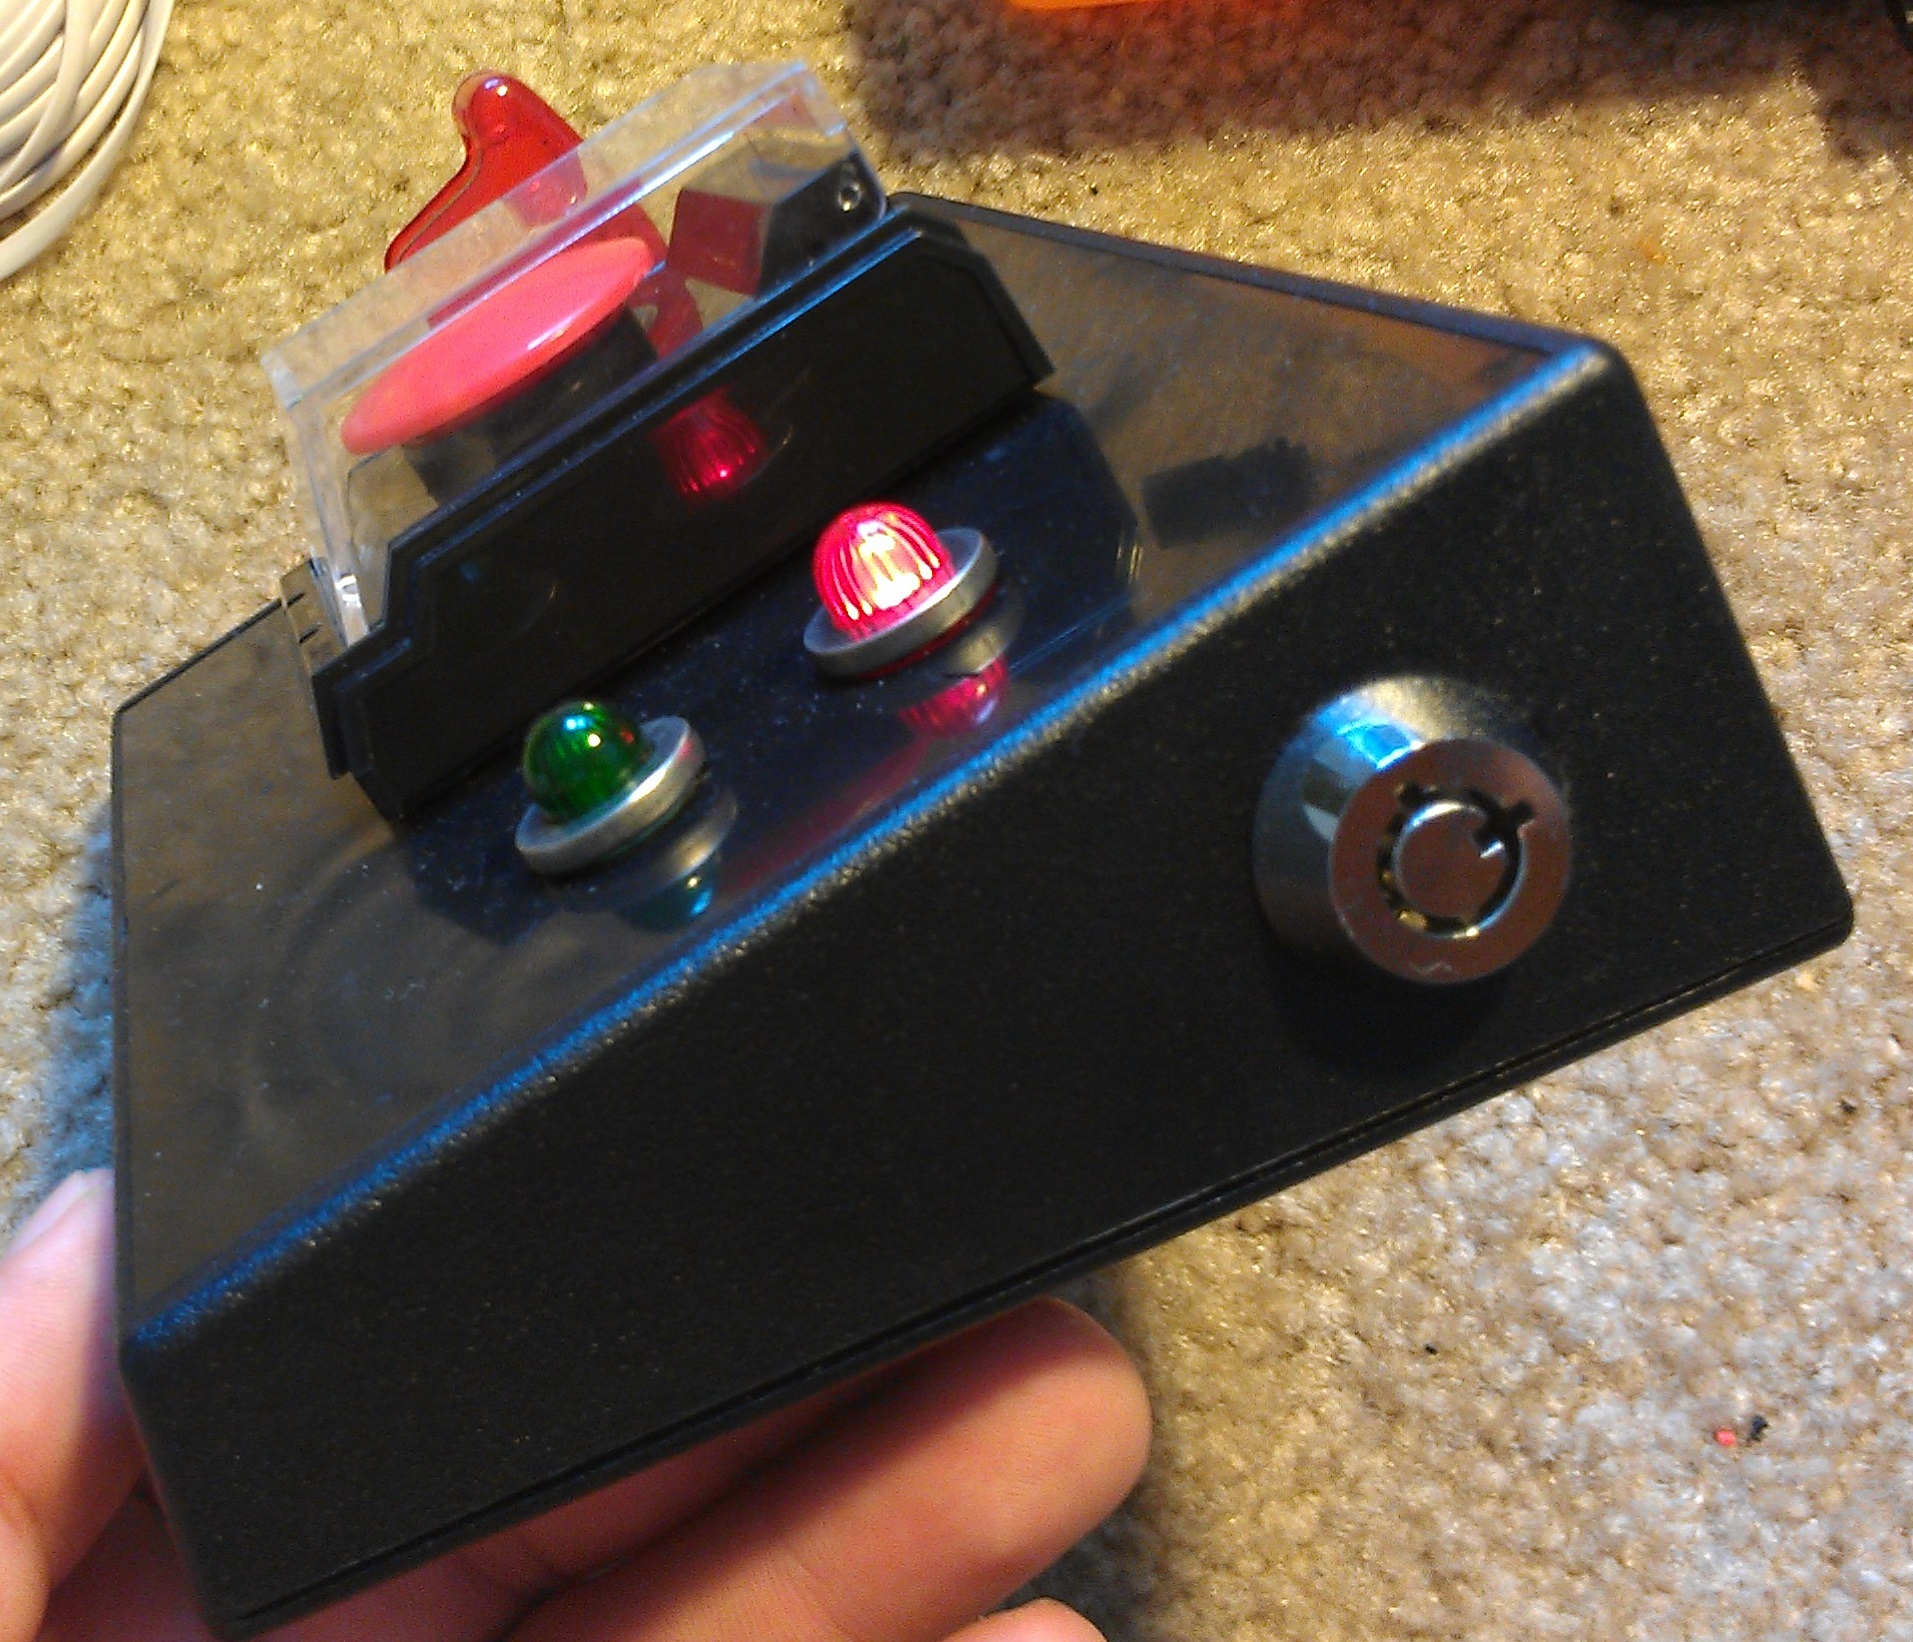
The “controller” is the user interface mechanism responsible for initiating the rocket launch sequence and sending the launch signal to the launcher. It features continuity indication through a buzzer and LED, to ensure the connection to the launcher is stable. For additional fault-tolerance, the controller uses a keylock switch and an ARM sequence. The schematic from vatsaas is illustrated below.
To launch, you insert the safety key, then hold down the LAUNCH button with the ARM switch set to OFF to trigger the continuity check. If that works, you can flip the ARM switch(which activates the warning siren) then press the LAUNCH button to launch the rocket. The ARM and LAUNCH switches send signals to their corresponding relays in the launcher. Removing the key interrupts the circuits for both the continuity and launching relays.
The controller circuitry is housed in a hard plastic controller.
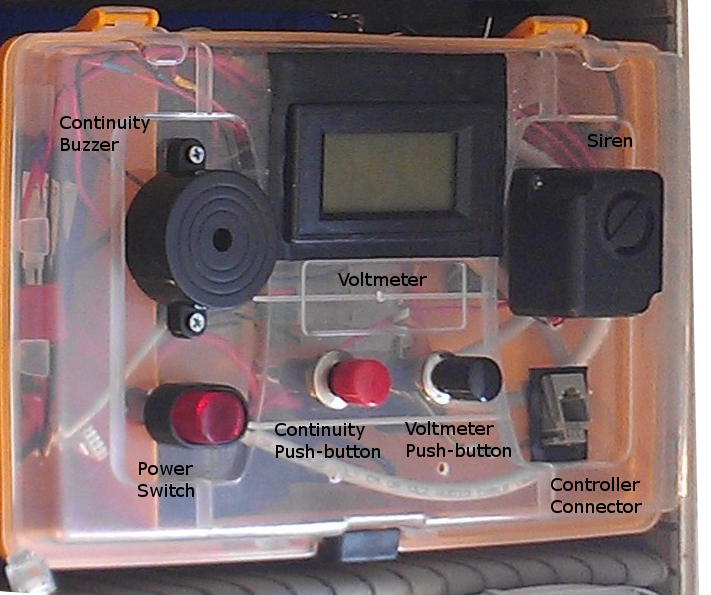
The “launcher” uses a 12V high current output (20-30A) to trigger igniters, clusters, and copperheads. It features continuity test circuitry, a voltmeter to monitor battery health, and a siren to warn bystanders of an impending launch. The launcher is enclosed in a small plastic toolbox.
When Relay 1 is activated (via the continuity transistor which is activated by the continuity button), current is sent through Buzzer 1 and Relay 3 and the igniter. These components limit the current so the igniter doesn’t fire yet. Buzzer 1 indicates continuity audibly (at the pad). The second buzzer in the controller alerts you at the flight line. When Relay 2 is activated (by the launch button) the real action happens. The relay contacts form a short across Relay 3 and the buzzer, effectively removing them from the circuit. This allows the full current to travel through the igniter, launching the rocket!
The siren is also activated by Relay 2. This indicates that the launch relay is energized, and that the rocket will launch as soon as the continuity circuit engages. I made a few changes to this design to reduce overall size. I swapped the oversized 12V lead-acid car battery to use a rechargable 3S 20C lithium polymer battery. I also explored using power MOSFETs instead of mechanical relays.
The connection between the hand controller to the launch box is a 4 conductor low power RJ-11 telephone cable. The transistor circuit controlling the relays/MOSFETs only requires a weak electrical signal, so there is no need to worry about signal attenuation due to cable resistance over the 200ft+ cable length.
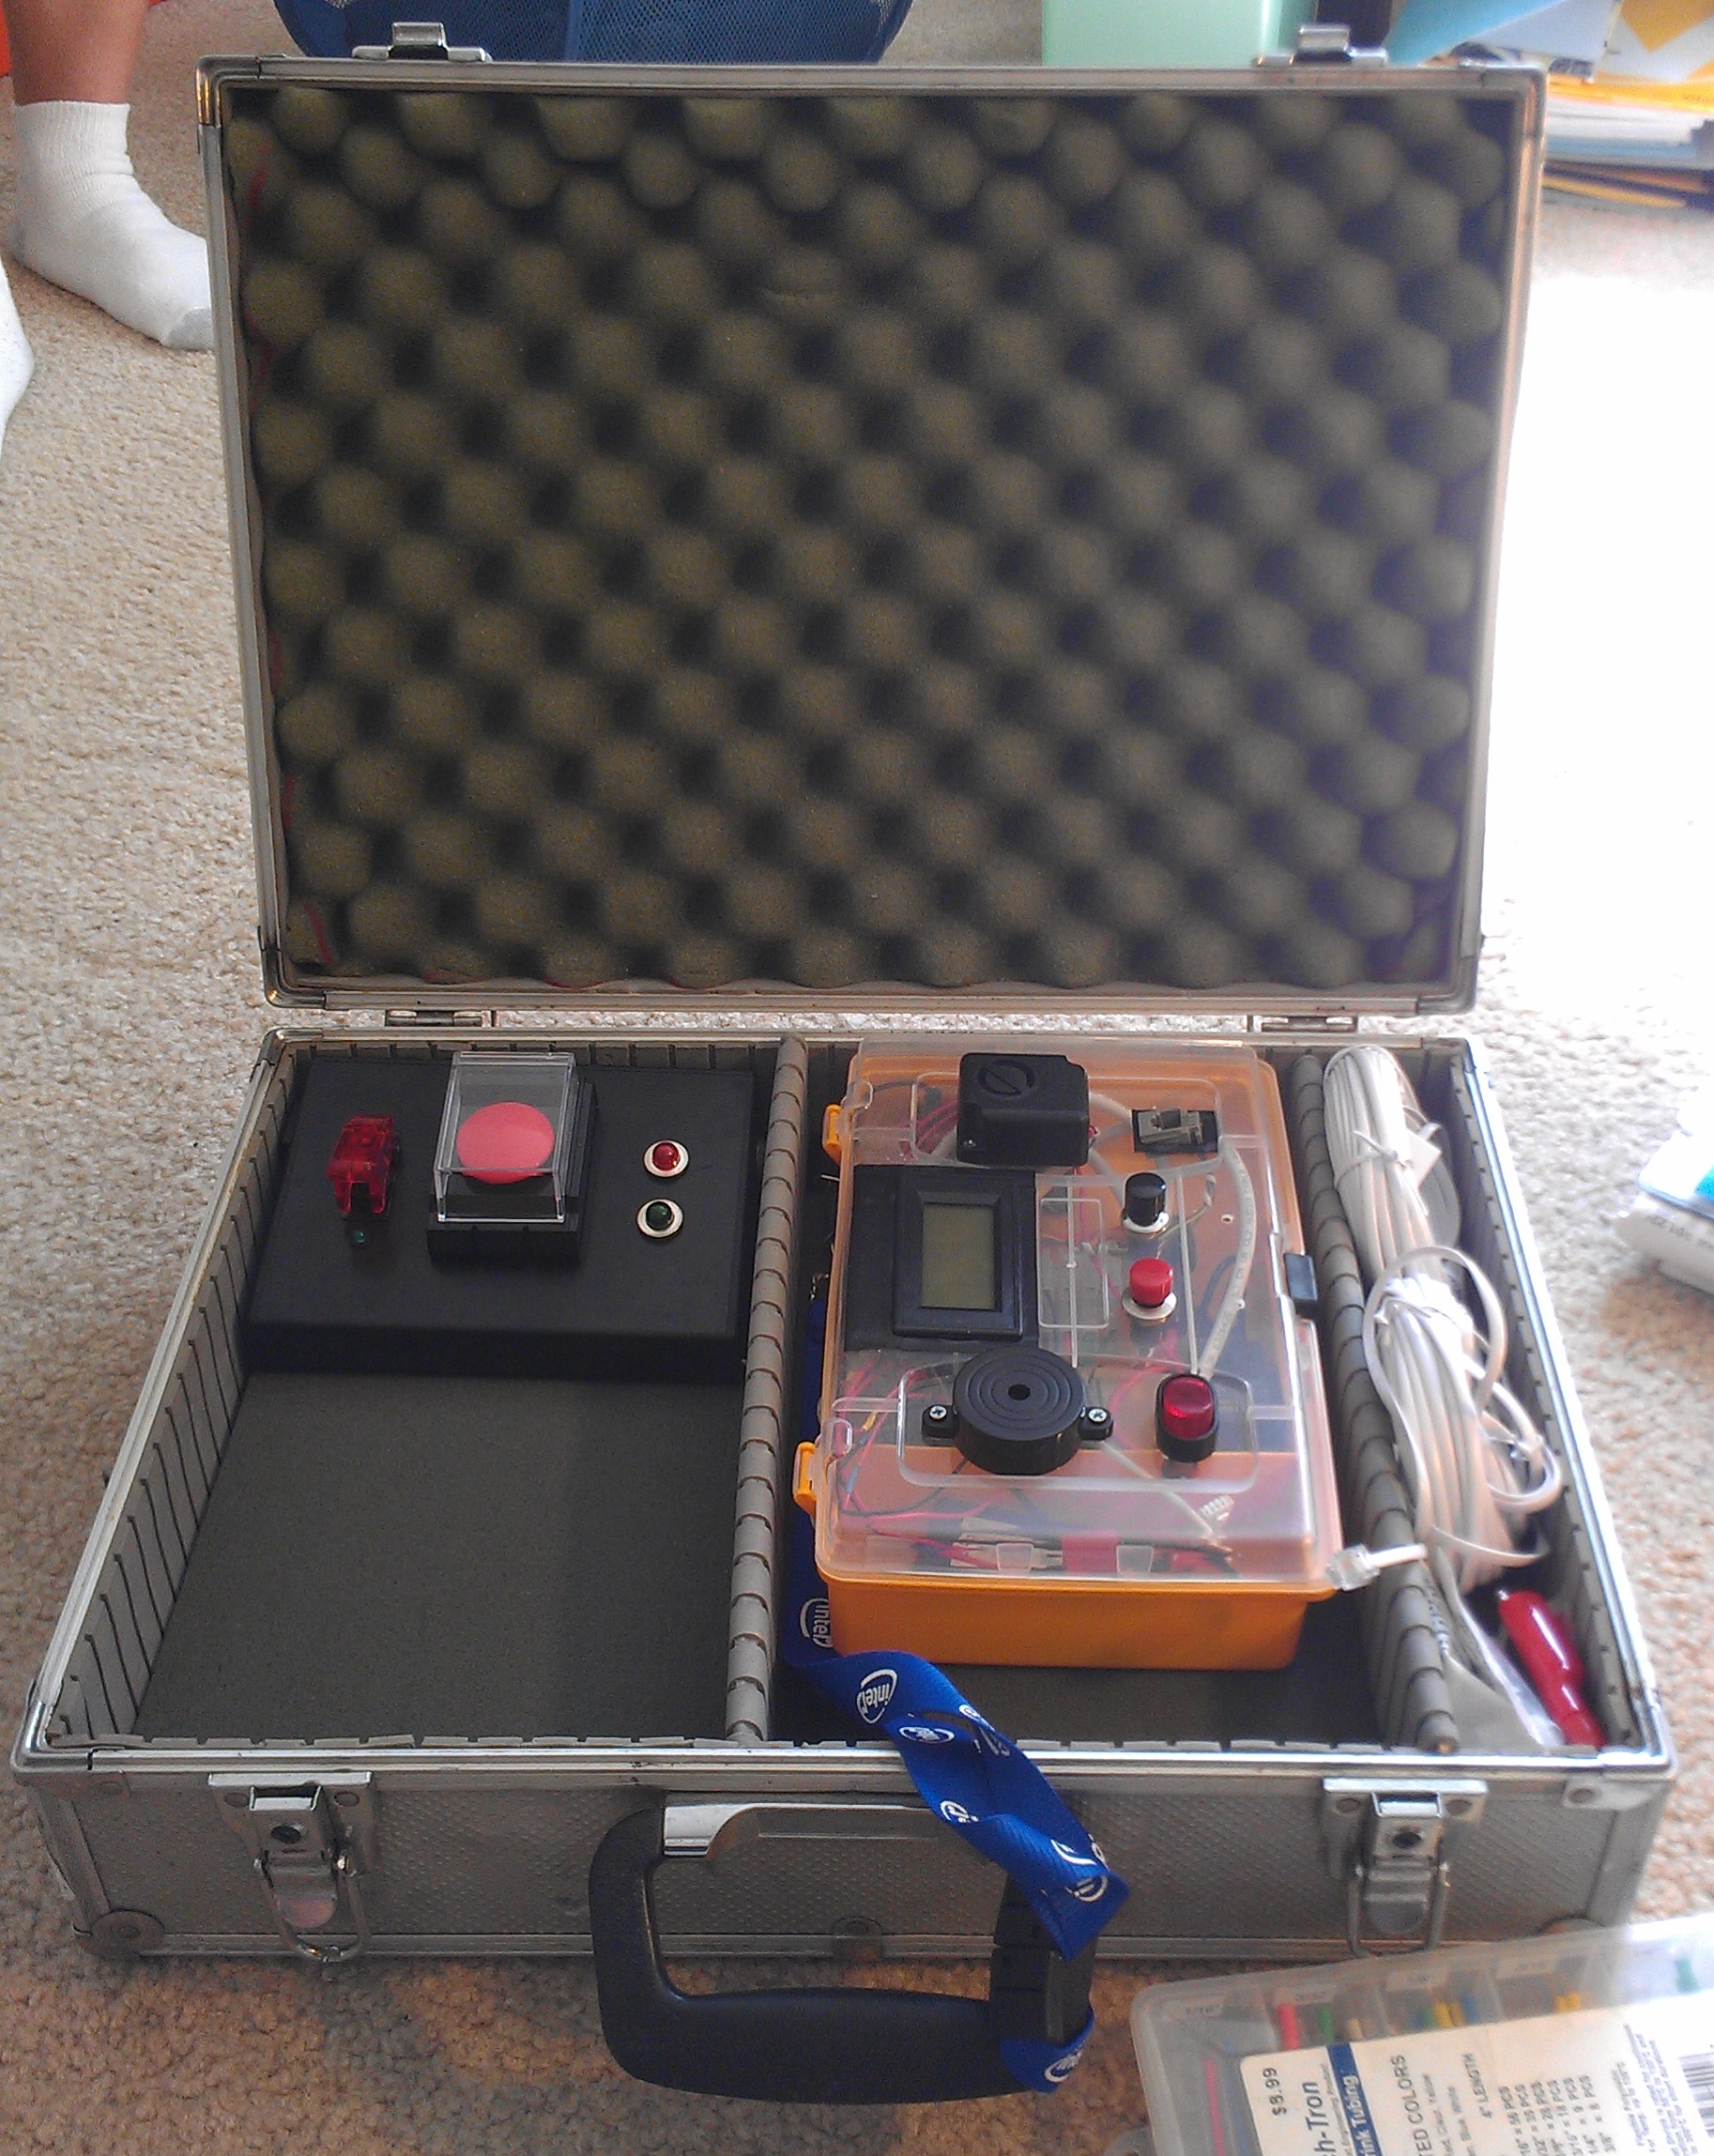
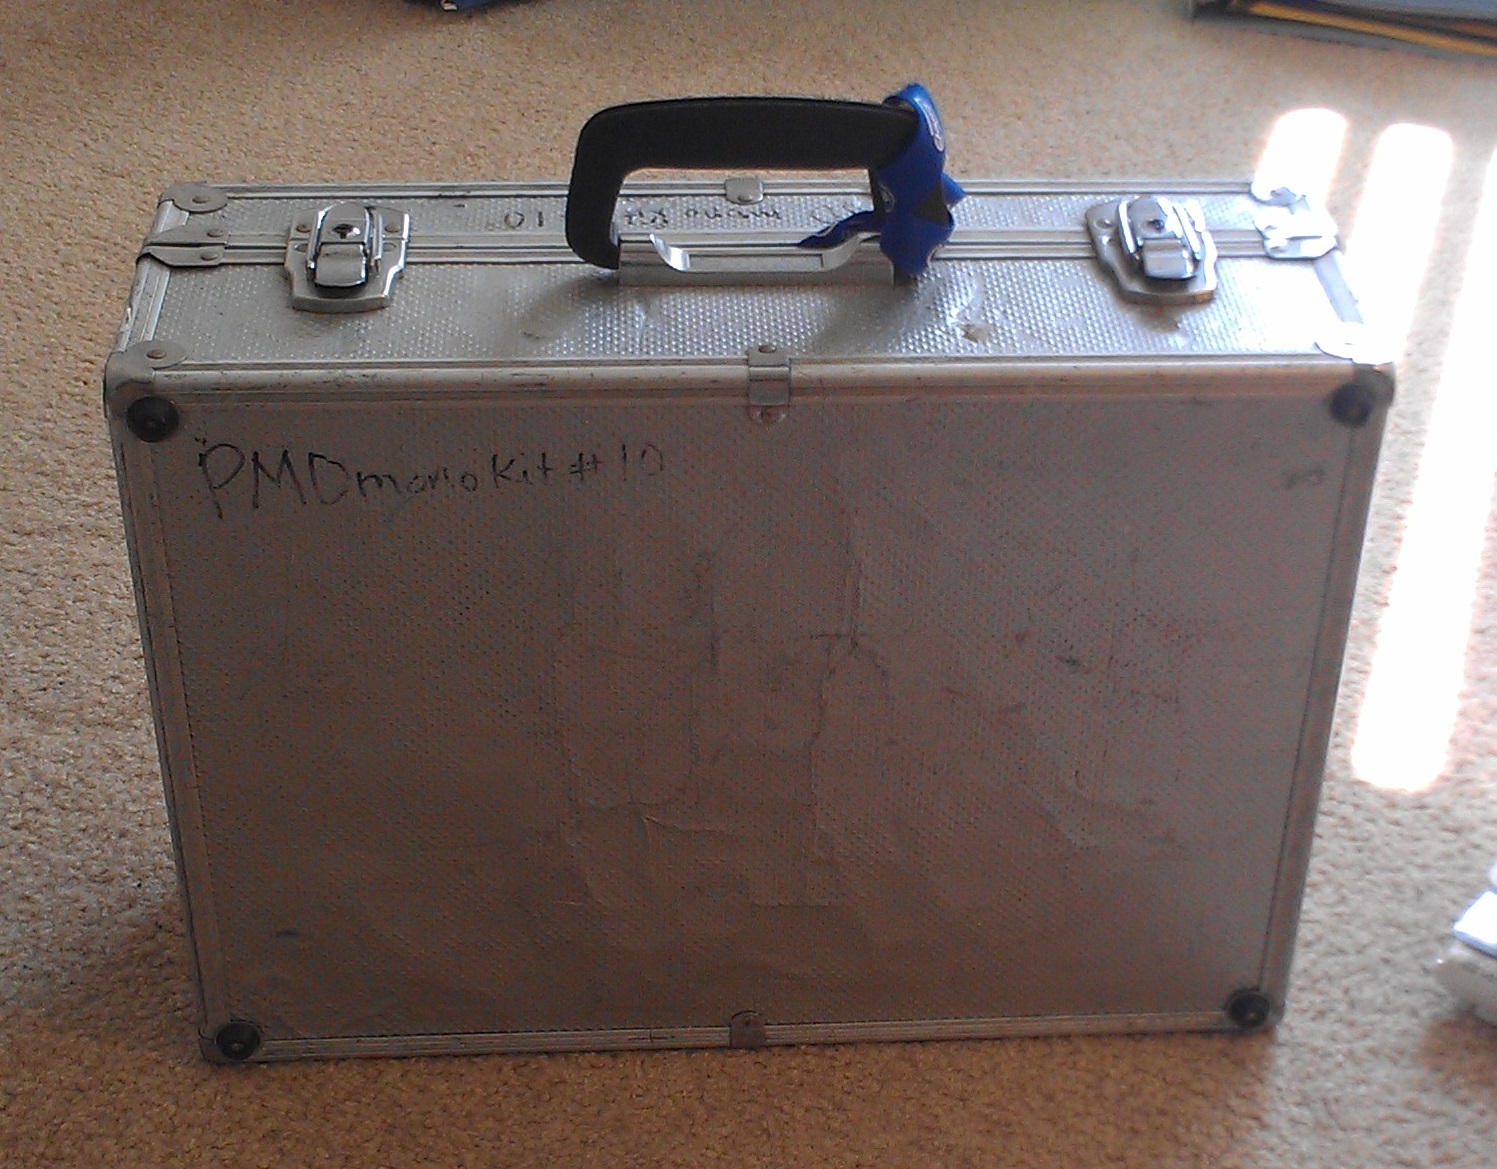
To improve portability, I found an old briefcase to organize and carry the launch controller.
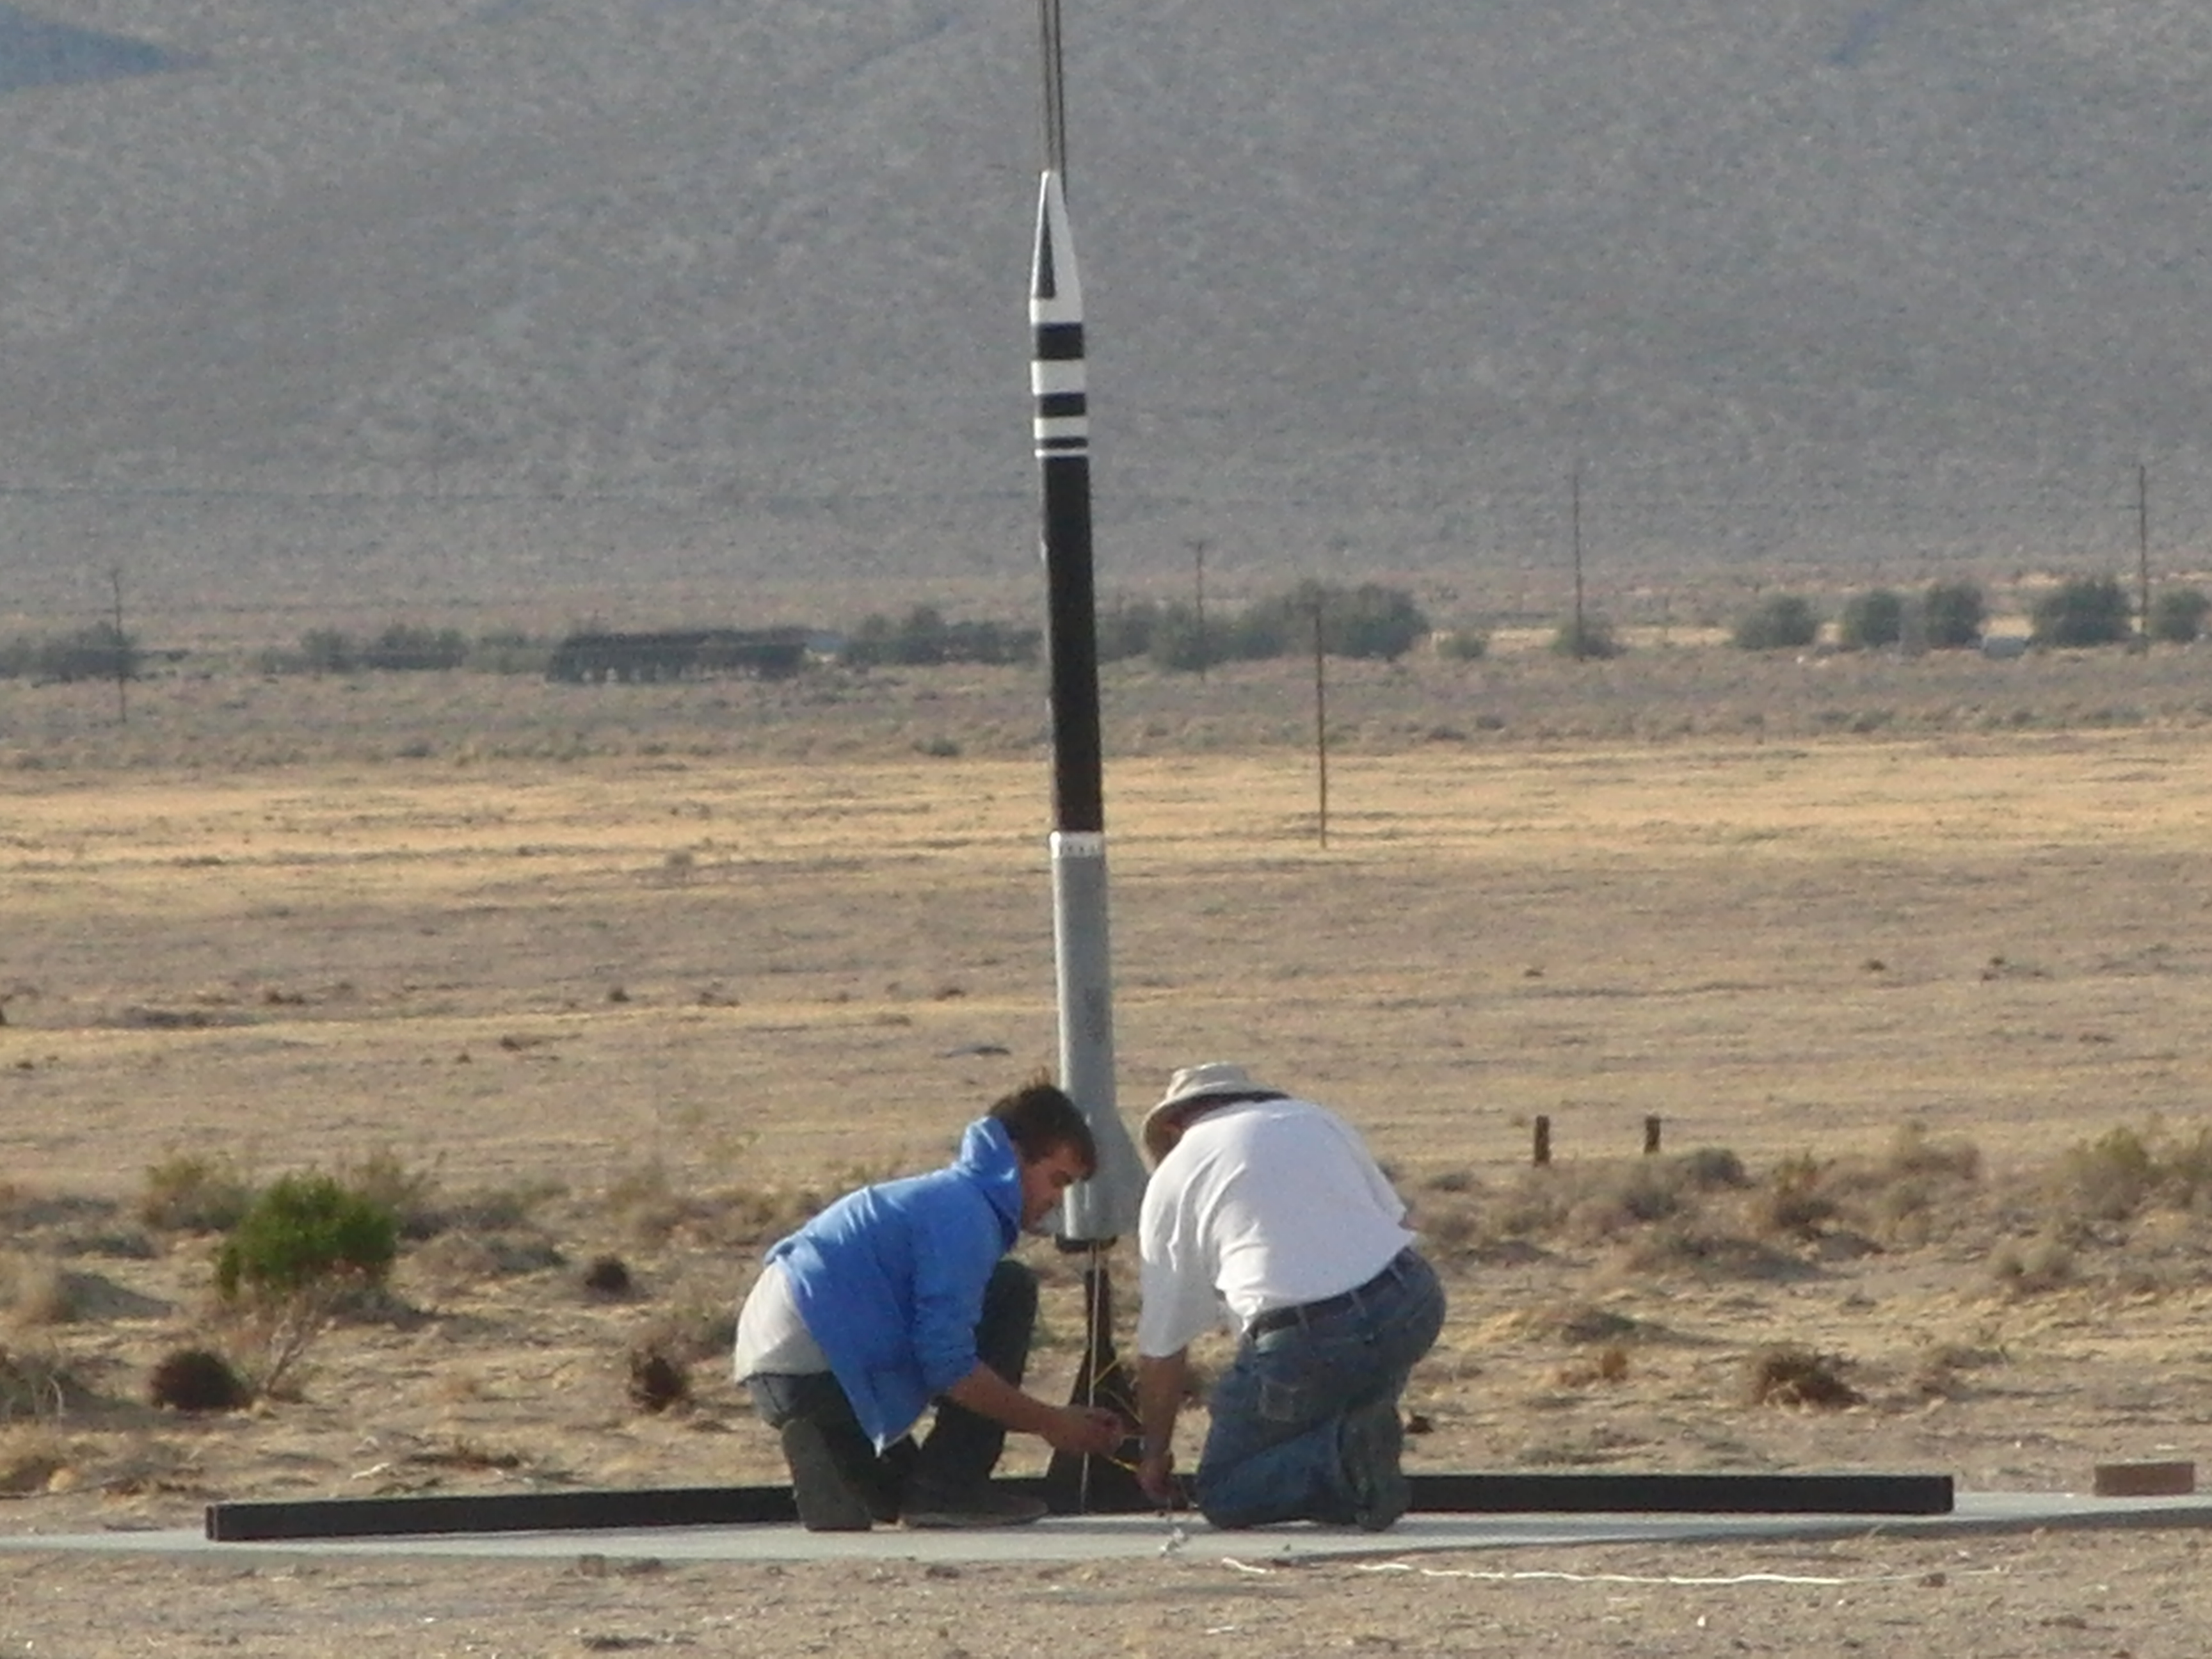
Bill prepping the “Traveler” rocket for launch
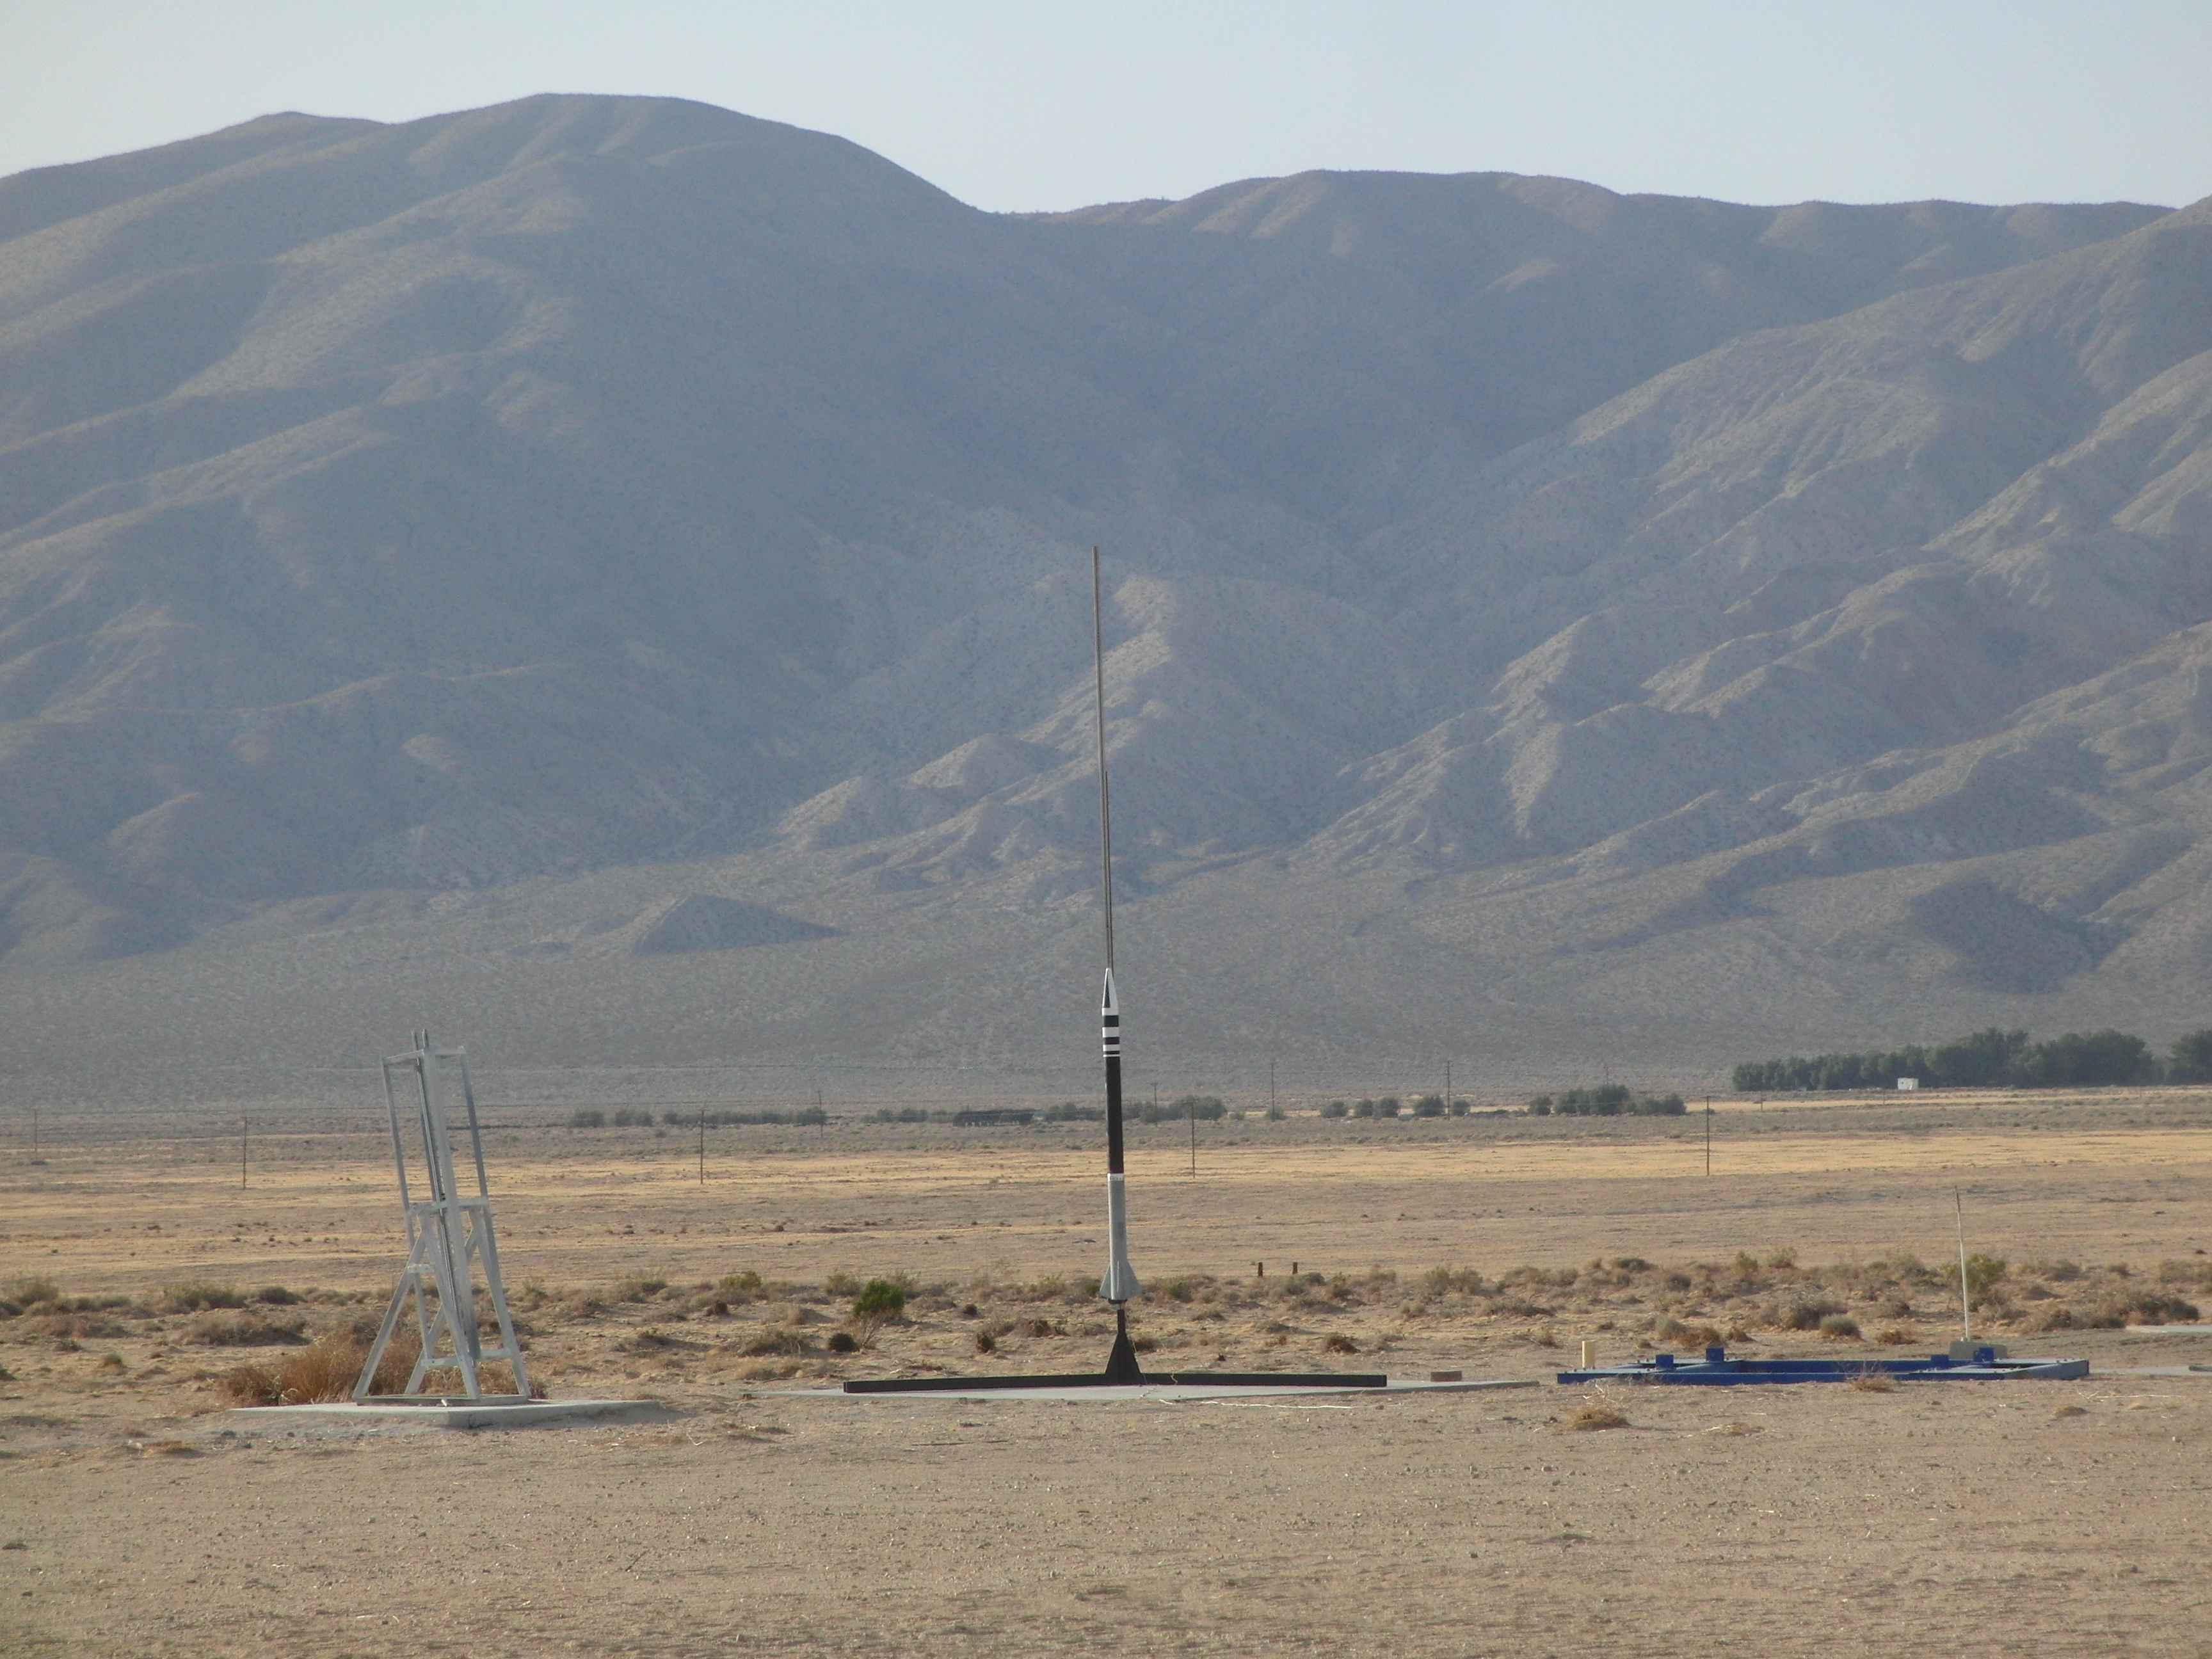
Traveler is ready for launch!
Ignition sequence at the rocket